
Last updated November 16, 2026
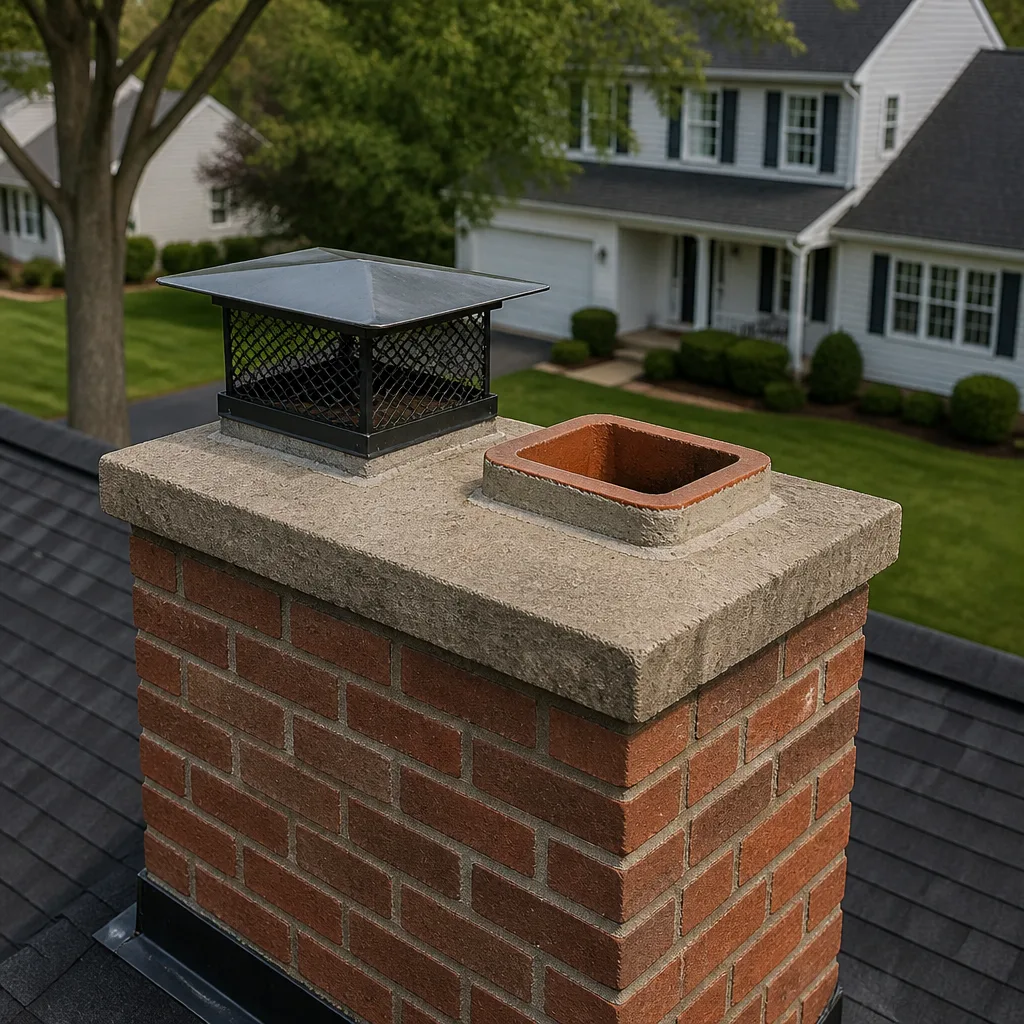 Sweep & inspection
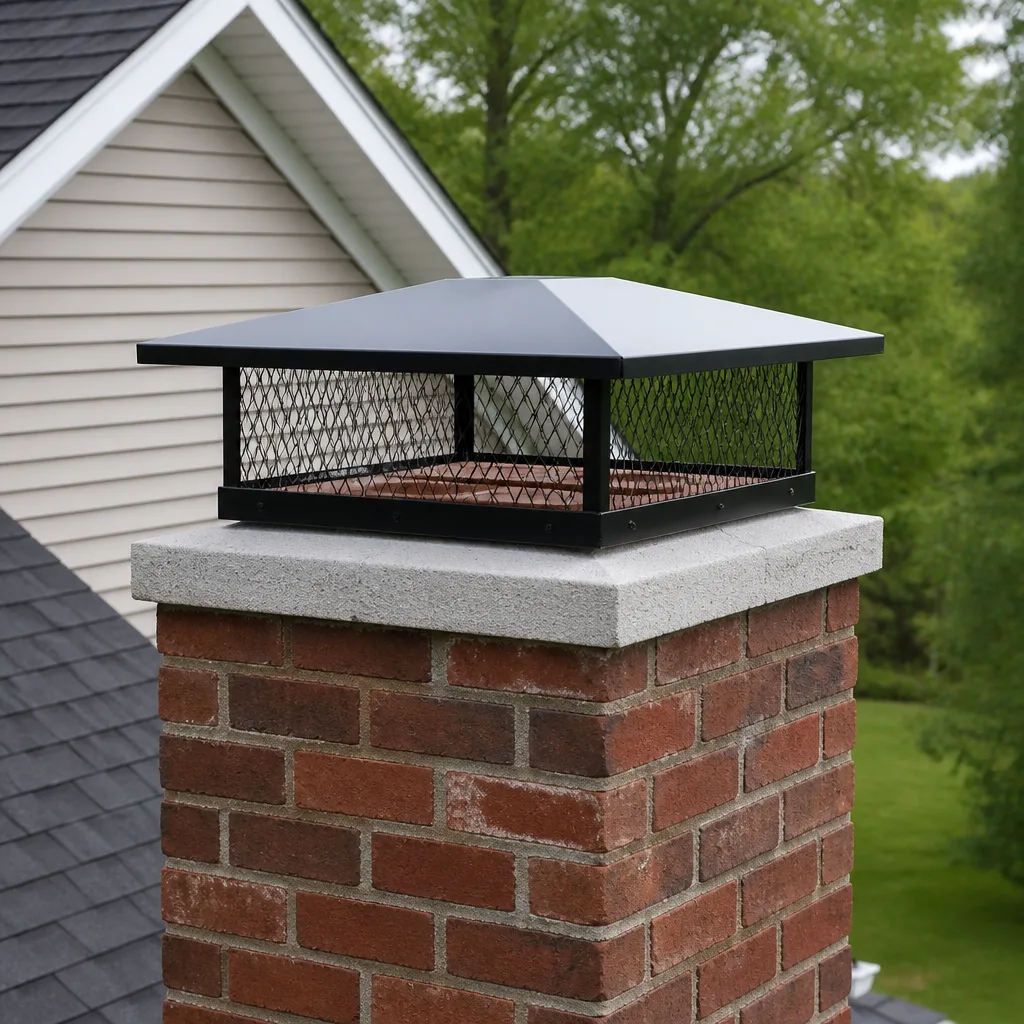 Caps & crowns
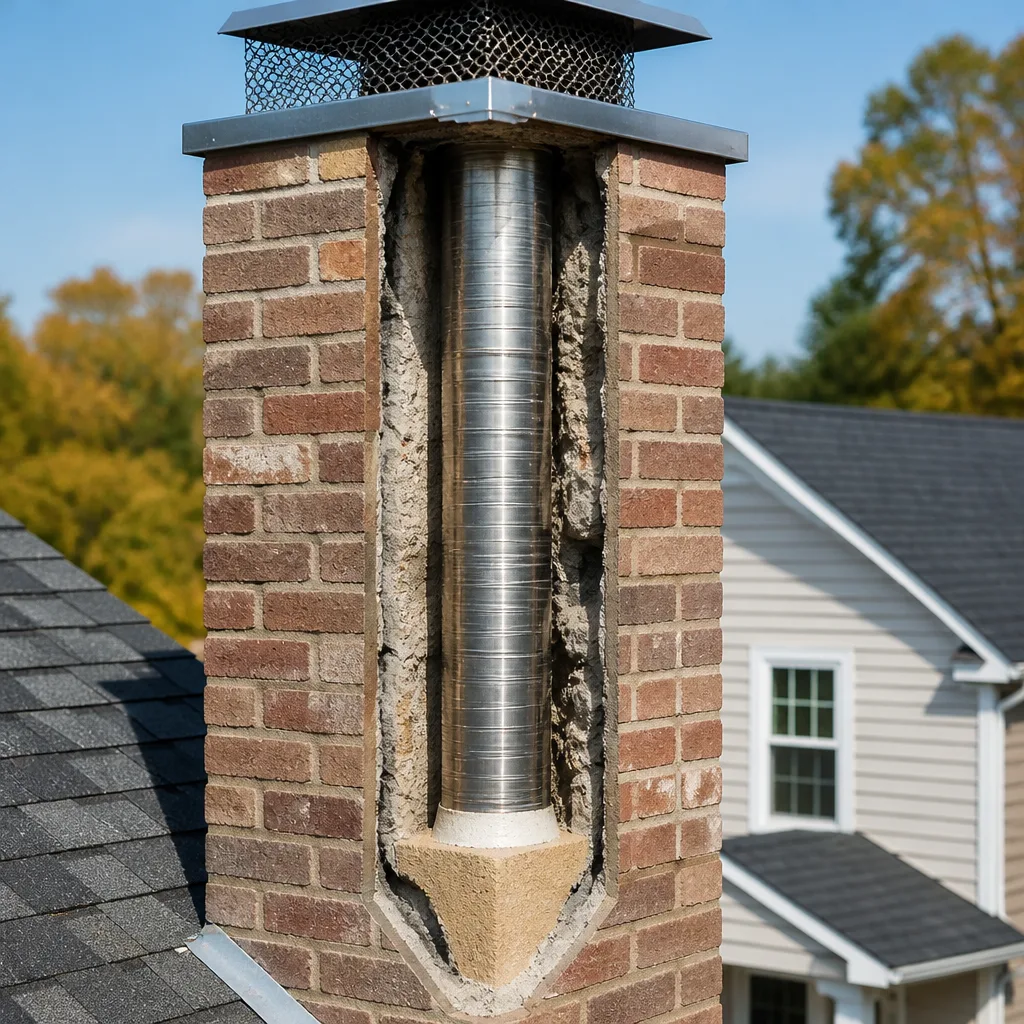 Flue relining
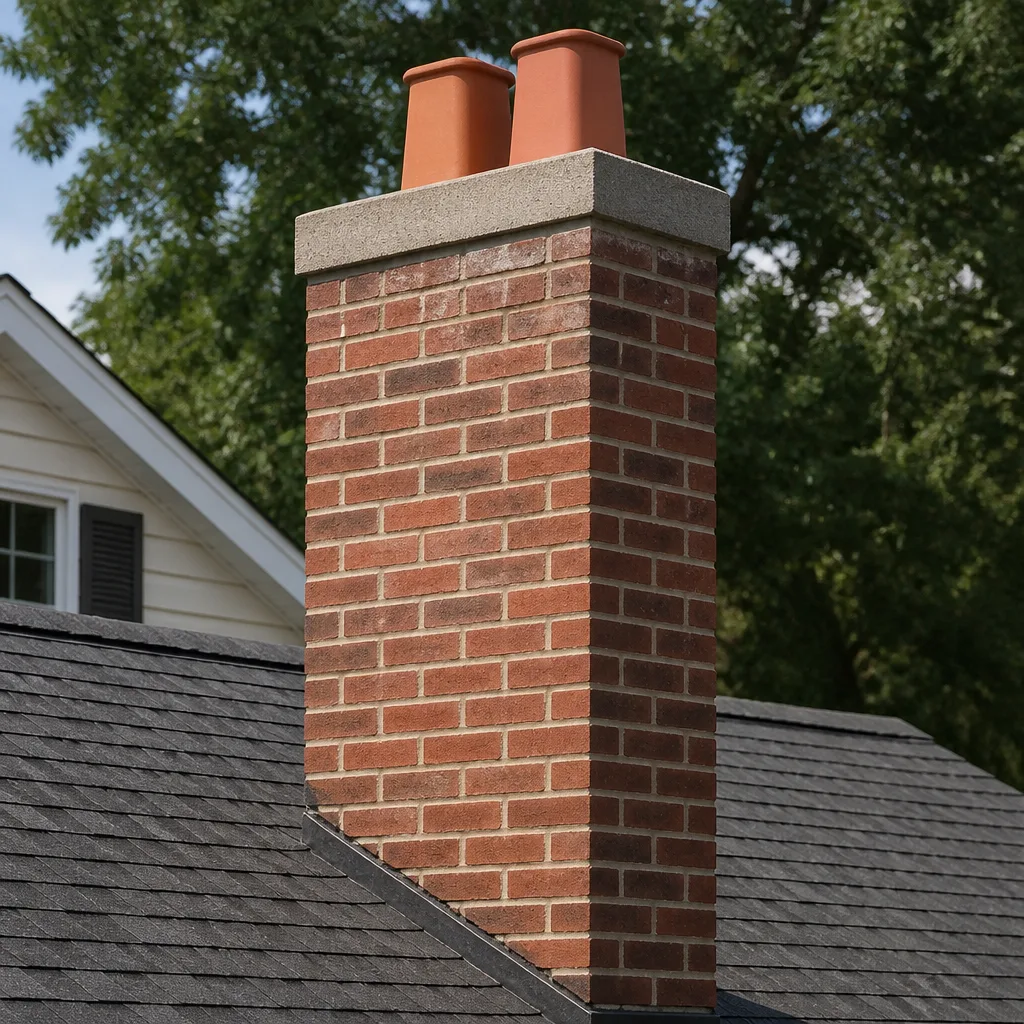 Masonry repair
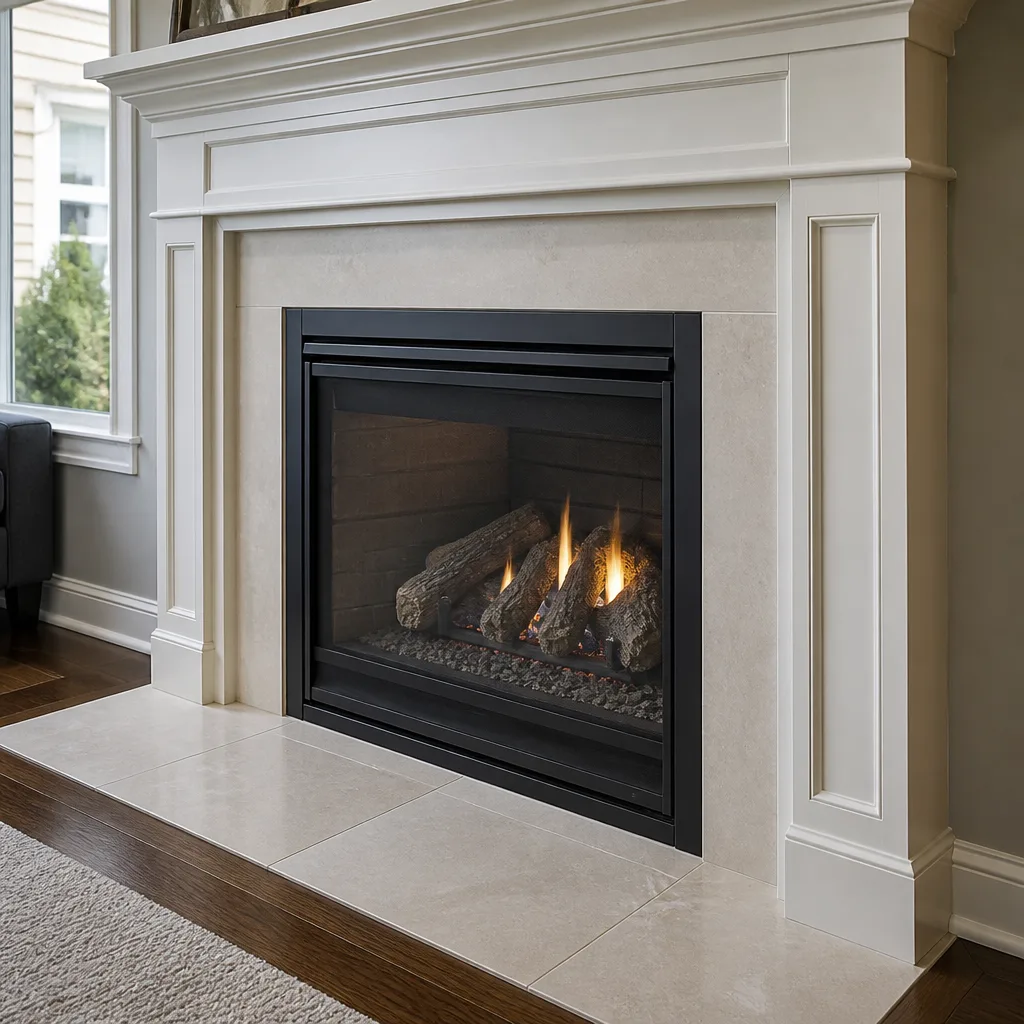 Gas fireplace service
Level 1 sweep and inspection to the NFPA 211 annual standard - flue, crown, cap, and flashing checked and photographed
Chimney sweep logs do not sweep chimneys. They loosen some creosote - which then falls where a brush and vacuum still have to collect it.
DIY vs Professional Chimney Cleaning: The Palm Coast Homeowner’s Decision Guide
You can buy a chimney brush kit online for around $40, and yes – you can physically push it up your flue. The brush part isn’t complicated. What you can’t buy at that price is the ability to read what comes back down. Glazed creosote, a hairline crack in the liner, mortar joints softening after a humid season, a crown that’s starting to pull away from the flue – these are the things that turn a routine cleaning into a repair, and they’re invisible to anyone who hasn’t spent years looking at them. This guide is about where the DIY line actually sits for a Palm Coast homeowner, what you can safely handle, what you can’t, and how to tell the difference before it costs you.
Quick Answer
You can safely handle light firebox cleanup, cap and damper checks, and basic brushing on a straight single-flue chimney. You should not handle creosote assessment, liner inspection, or anything involving heavy buildup or glazed deposits – that work needs video inspection equipment, HEPA-contained vacuum systems, and a trained eye. For most Palm Coast homeowners, a professional sweep is the cheaper path once you factor in what a missed diagnosis costs down the road.
Styles & brands we work with
- Sweep & inspection
- Caps & crowns
- Flue relining
- Masonry repair
- Gas fireplace service
Table of Contents
- What a competent homeowner can safely do
- The tools that aren’t sold to homeowners
- How Palm Coast’s humidity creates failure modes you can’t see
- Why inspection comes before any recommendation
- Insurance, liability, and documentation
- The cost math: when DIY saves money and when it doesn’t
- A step-by-step look at how a professional sweep actually runs
- How often a Palm Coast chimney needs attention
What a Competent Homeowner Can Safely Do
There’s a real list of chimney tasks a careful homeowner can handle without risk, and it’s worth being honest about it because the DIY question gets argued in absolutes when the truth is more useful in the middle. The tasks below involve no height work, no combustion byproducts in the air, and no judgment calls about structural condition.
- Firebox debris removal. Scooping out ash, leftover wood, and fallen mortar crumbs from the firebox floor is safe and useful. Use a metal scoop and a metal bucket, and wait until the firebox is fully cold.
- Visual cap inspection from the ground. A pair of binoculars from the yard tells you whether the cap is sitting square, whether the mesh is torn, and whether birds have moved in. That’s a legitimate observation, not a diagnosis.
- Damper operation check. Opening and closing the damper by hand tells you if it moves freely. A damper that sticks, drops, or won’t seal is a repair item, but noticing it is something you can do.
- Basic brush cleaning on a straight single-flue system. If your chimney is a straight vertical run with no offsets, no insert, and light soot only, a homeowner-grade brush and rods can knock down loose deposits. This is the one task where DIY genuinely overlaps with professional work.
- Checking the exterior for obvious gaps. Walking the yard and looking at the crown and flashing for visible separation is reasonable. Climbing up to fix what you find is not.
Notice what’s missing from that list: anything that requires being on the roof, anything involving the liner itself, and anything that requires deciding whether what you’re looking at is a problem. That’s the real boundary. A homeowner can perform tasks. A homeowner cannot reliably perform an assessment. In our experience, that distinction is where most of the DIY debate actually lives, and it’s the one that matters most in Palm Coast.
The Tools That Aren’t Sold to Homeowners
The equipment gap between a homeowner kit and a professional setup isn’t about power or prestige – it’s about containment and visibility. Three categories of tooling separate the two, and each one exists because of a specific failure the consumer version can’t prevent.
HEPA vacuum systems
When you brush a flue, soot and creosote particles go airborne. A shop vac with a standard filter will blow the fine fraction straight back into your living room, and that fine fraction is the part you don’t want to breathe. Professional sweep setups use HEPA-rated containment with the vacuum running at the firebox opening before the brush ever touches the flue, so the dust is captured at the source. That’s not a marketing detail – it’s the difference between a clean room and a room you’ll be wiping down for a week.
Rotary rod systems
A hand brush works on loose soot. It does not work on hard, glazed, tar-like creosote, which is what forms when a fire burns cool or the wood is unseasoned. Rotary rods spin a cutting head against the deposit to break it loose, and the operator adjusts speed and pressure based on what the flue is doing. Running a hand brush against Stage 3 glazing doesn’t clean it – it just polishes the surface and makes it look cleaner than it is.
Video inspection cameras
This is the big one. A chimney video camera on a flexible rod runs the full length of the flue and shows the liner interior, the joints, the smoke chamber, and the top of the flue on a screen you can watch in real time. Without it, every judgment about liner condition is a guess made from the bottom looking up. That’s the tool that separates an inspection from a cleaning, and it’s the tool no homeowner kit includes.
When a sweep finds a liner problem, the fix is often more specific than “replace the whole thing.” HeatShield resurfacing can restore a liner that’s cracked or spalling without a full tear-out, and a DuraFlex liner handles the cases where replacement is the right call. Those material choices come after the camera work, never before it.
How Palm Coast’s Humidity Creates Failure Modes You Can’t See
Palm Coast winters are mild, so the chimney problems here don’t look like the ones you read about in cold-climate guides. There’s no freeze-thaw cycle to split masonry, and no ice to blame. What we have instead is year-round humidity, warm air, and a long cooling season where a chimney sits mostly idle between fires – and that combination produces a specific set of failure modes that an untrained eye walks right past.
Moisture-driven mortar deterioration
Masonry is porous. Warm humid air moves through mortar joints and brick faces, and when the chimney cools in the evening, moisture condenses inside the structure. Over a few seasons, that cycle softens the mortar and causes spalling on the brick faces. From the ground, the chimney looks fine. From the flue interior with a camera, the joints show as receding, sandy, or crumbling. The point where this becomes a structural concern is exactly the point a homeowner can’t identify without seeing it.
Crown cracking and the leak path
The crown is the concrete cap at the top of the chimney that sheds water away from the flue. When a crown develops a hairline crack – which happens as concrete cures and moves – water runs down the crack, into the masonry, and into the smoke chamber. From the yard, the crack is either invisible or looks like a cosmetic line. The damage it’s doing shows up on a camera inspection as staining on the flue interior and rust on the damper assembly. That’s the $275 service call turning into a masonry repair, and the difference between catching it at the crack stage versus the saturated-masonry stage is measured in seasons, not weeks.
Cap and draft issues
A chimney cap does two jobs: it keeps water and animals out, and it stabilizes draft at the flue outlet. A cap with a torn mesh or a loose seam lets water in through a path that looks fine from below. This is where a proper cap install pays for itself – a Gelco or Famco cap sized correctly to the flue does the job a generic hardware-store cap won’t, and the difference shows up in draft behavior and in whether water is finding a way in. A homeowner can see that the cap is present. Seeing that it’s failing requires knowing what to look for.
Creosote glazing
Creosote forms in three recognizable stages, and only the first one looks like what homeowners picture. Stage 1 is soot and flaky deposit – visible, brushable, and what a homeowner kit is designed for. Stage 2 is a hard, shiny, tar-like glaze that clings to the liner and won’t brush off. Stage 3 is puffy, concentrated, and the most combustible. A homeowner brushing a flue can see Stage 1 coming down. Stage 2 and Stage 3 look like “the chimney is clean” from inside the living room, which is exactly the problem.
In our experience, Palm Coast chimneys that see regular but light use tend to sit at Stage 1 for a long time. Chimneys that see heavy use with unseasoned wood move toward Stage 2 faster than the homeowner expects, and the visual difference from the firebox is almost nothing.
Why Inspection Comes Before Any Recommendation
Every professional chimney company should work the same way: inspect first, recommend second. That order isn’t a courtesy – it’s what keeps you from being sold work you don’t need. If a sweep tells you the liner needs replacing before they’ve run a camera, that’s not a diagnosis, it’s a sales pitch. A real recommendation follows evidence, and the evidence is the video record.
Here’s what a proper inspection covers, in order:
- Exterior walk-around. Crown condition, cap and mesh, flashing at the roofline, and the visible masonry faces for spalling or separation.
- Firebox and damper. The firebox walls for cracks or gaps, the damper for smooth operation and a proper seal, and the smoke shelf for debris buildup.
- Smoke chamber. The transition zone between the firebox and the flue, where creosote accumulates unevenly and where many drafting problems actually live.
- Flue interior with a video camera. Full-length scan of the liner, joints, and flue top, recorded so you can watch it and keep the footage.
- Draft check. Verifying that the chimney actually pulls, especially on a system with an insert or a gas appliance tied into it.
Only after all five steps does a recommendation make sense. If the camera shows a sound liner with light deposit, the answer is a sweep, not a resurfacing job. If it shows cracked joints with staining, HeatShield is on the table. If the liner is compromised badly enough that resurfacing won’t hold, DuraFlex replacement is the path. Those are three different outcomes from the same inspection, and the camera is what tells them apart.
When that inspection turns up repair work, it helps to have one team handle it end to end rather than passing you to a general contractor. That’s the reason we handle chimney repair with the same team that does the inspection, and why we source components from Olympia Chimney and Copperfield so uncommon parts aren’t an obstacle. We also install HeatShield for liner resurfacing, which is the repair route that avoids a full liner replacement when the liner’s structure supports it.
Insurance, Liability, and Documentation
Most homeowner policies require that the chimney be maintained to a reasonable standard, and after a chimney fire the adjuster’s first question is going to be about maintenance records. That’s the practical answer to the insurance question: it’s not about whether a DIY cleaning is allowed, it’s about whether you have documentation that the work was done and what condition the chimney was in.
Here’s what a professional sweep can provide that a homeowner brushing their own flue cannot:
- A dated service record. A written record of the sweep, including what was found and what was cleaned.
- Video footage of the flue interior. Pre- and post-sweep camera runs, saved as files you can hand to an adjuster.
- A written inspection report. Findings on the crown, cap, liner, damper, and smoke chamber, with photos where relevant.
- Materials documentation. When a cap, liner, or resurfacing product goes in, knowing the brand and product matters for future claims and future maintenance decisions.
None of that is a legal requirement. It’s evidence, and evidence is what makes an insurance conversation go the way you want it to. In our experience, the homeowner who can produce a camera inspection report from the year before the damage happened has a very different conversation with an adjuster than the homeowner who doesn’t.
Liability is the other half. If a DIY cleaning on a straight flue with light soot goes fine, there’s no issue. If a DIY cleaning damages the liner because the brush head caught a joint, or a homeowner on the roof for a cap inspection falls, the picture changes. Roof work on a two-story Palm Coast home is a genuine fall hazard, and that’s before we get to the question of whether the roof pitch is walkable in the first place. There’s a reason we recommend against homeowners on the roof for any reason.
The Cost Math: When DIY Saves Money and When It Doesn’t
This is where the argument usually gets settled, so it’s worth laying out plainly. DIY saves money when the only thing needed is a light cleaning on a simple straight flue and the chimney is in verifiably sound condition. DIY delays diagnosis when the cleaning is actually the smallest part of the value, and the cost of that delay is the difference between a routine sweep and a masonry repair.
Here’s how the trade-off tends to break down:
- Where DIY saves real money: A straight single-flue chimney, light soot, no insert, no gas appliance, chimney in known-good condition within the last inspection cycle. A $40 brush kit and an hour of your time genuinely covers this case.
- Where DIY costs more than it saves: Any chimney with an insert, a liner that hasn’t been camera-inspected, visible or suspected crown issues, damp stains on the firebox, heavy use, or unseasoned wood. In these cases, the cleaning cost is the cost of getting the answer, and skipping it means you’re still guessing after the cleaning is done.
- Where DIY is a genuine mistake: Attempting to remove glazed creosote by hand brushing. If the chimney is at Stage 2 or Stage 3, a hand brush cannot remove it, the deposit stays in place, and the fire risk doesn’t move.
The structural comparison is straightforward. A professional chimney sweep in Palm Coast typically lands in the range of a routine service call – not the thousands of dollars homeowners fear, and not the $40 a DIY kit costs. Between those two numbers sits a camera inspection and a written report. The repair it catches, when it catches something, is where the real money lives. Resurfacing with HeatShield is a fraction of what full liner replacement costs, and full liner replacement is a fraction of what masonry rebuild costs. Each stage up the ladder is roughly an order of magnitude beyond the stage before it, and the camera is what tells you where on the ladder you actually are.
Our technicians have up to experience, and the pattern holds: the calls that turn into expensive masonry work are almost never the ones that started with a professional sweep. They’re the ones where the homeowner cleaned their own flue for a few years, saw nothing wrong, and stopped looking.
A Step-by-Step Look at How a Professional Sweep Actually Runs
Knowing what a professional sweep involves makes the DIY comparison concrete. Here’s the sequence, start to finish, for a typical Palm Coast home. Nothing here is a surprise if you know what’s coming, and knowing what’s coming also tells you where the DIY version falls short.
- Floor and hearth protection. Drop cloths go down before any equipment comes in, and the vacuum is set up at the firebox opening, running, before a brush goes up.
- Containment check. The HEPA vacuum runs continuously throughout the sweep, capturing airborne soot at the source rather than letting it settle out into the room.
- Firebox and smoke chamber cleaning. Loose debris comes out first, then the smoke chamber and smoke shelf get cleaned, since that’s where creosote accumulates unevenly.
- Flue brushing. Rods and brush heads sized to the flue run the full length, top to bottom, with the brush type chosen to match the deposit – standard poly for soot, rotary cutting heads for glazed buildup.
- Camera inspection. The flue interior is scanned on video, top to bottom, and the operator watches it in real time. Findings on the liner, joints, and flue top get noted.
- Cap and crown check. From a safe vantage, the cap and crown are assessed for water intrusion and draft behavior, with the cap checked for mesh integrity and alignment.
- Report and recommendation. You get a written summary, the camera footage, and a clear answer on what, if anything, needs work now versus what can safely wait.
The important line in that sequence is step six. Everything before it is cleaning. Everything after it is diagnosis. The DIY version can do a partial job on step three and step four. It cannot do step five, and that’s the step where the value sits.
When a repair is warranted, the materials matter as much as the finding. We install Gelco and Famco caps because they hold up and they manage draft properly. We use HeatShield for liner resurfacing because it’s the method that can restore a damaged liner without tearing the whole thing out in the right conditions. We run DuraFlex for full liner replacement where resurfacing won’t hold. Those choices all come after the camera, never before it.
How Often a Palm Coast Chimney Needs Attention
The general rule is that a chimney burning a cord of wood a year needs a sweep about once a year, and a chimney with an insert or a gas appliance needs an annual inspection check. In Palm Coast, the mild winters mean fewer heavy burn days than a northern climate, so a lightly used fireplace can sometimes stretch that interval. “Sometimes” is doing real work in that sentence – the answer depends on what the camera finds, not on the calendar.
Here’s how to think about frequency without guessing:
- Annual inspection. Once a year, regardless of how much you’ve burned. The inspection is what tells you whether a sweep is needed, and it’s what catches the crown and cap issues on the humid-season timeline.
- Sweep when the deposit calls for it. A soot-heavy firebox with light flue deposit needs a sweep. A flue with glazed deposit needs rotary work, not a hand brush. The inspection tells them apart.
- After any chimney fire event. Even a small one. A chimney fire that sounded minor from inside the house can leave the liner compromised, and only a camera will see it.
- Before buying or selling a home. A pre-sale inspection with video footage is one of the genuinely useful documents a buyer can have, and the same inspection protects a seller’s position.
If you’ve been cleaning your own flue and you can’t remember the last time anyone ran a camera, that’s the sign to schedule an inspection. It’s not a judgment on your sweeping – it’s just the one part of the job that DIY can’t cover, and it’s the part that matters most in a climate with this much humidity and this much idle time between fires.
Common Mistakes to Avoid
- Treating a clean-looking firebox as proof of a clean flue. The firebox is the easy part. Glazed creosote sits higher up the flue and looks nothing like the soot at the bottom.
- Brushing a glazed flue and calling it clean. A hand brush slides over Stage 2 glazing without removing it. If the brush came back with almost nothing on it, that’s a sign to inspect, not a sign of success.
- Going on the roof for a “quick look” at the cap. Palm Coast roof pitches and heights are a genuine fall hazard. Ground-level binoculars or a professional inspection covers this; the roof doesn’t need to.
- Skipping the inspection because the cleaning went fine. The cleaning going fine is the expected outcome on most chimneys. The inspection is where the actual information comes from.
- Accepting a repair recommendation without seeing the camera footage. Any recommendation should come with video you can watch yourself. If a company won’t show you the evidence, get a second opinion before booking anything.
- Assuming an insert or gas appliance uses the same schedule as an open fireplace. An insert concentrates heat in the flue and a gas appliance runs on a different deposit profile. The inspection frequency shouldn’t be lifted from an open-fireplace guide.
- Letting a humid season sit on a crown crack. A hairline crack in the crown in Palm Coast is on a shorter timeline than it would be in a dry climate. Water is finding that crack all year.
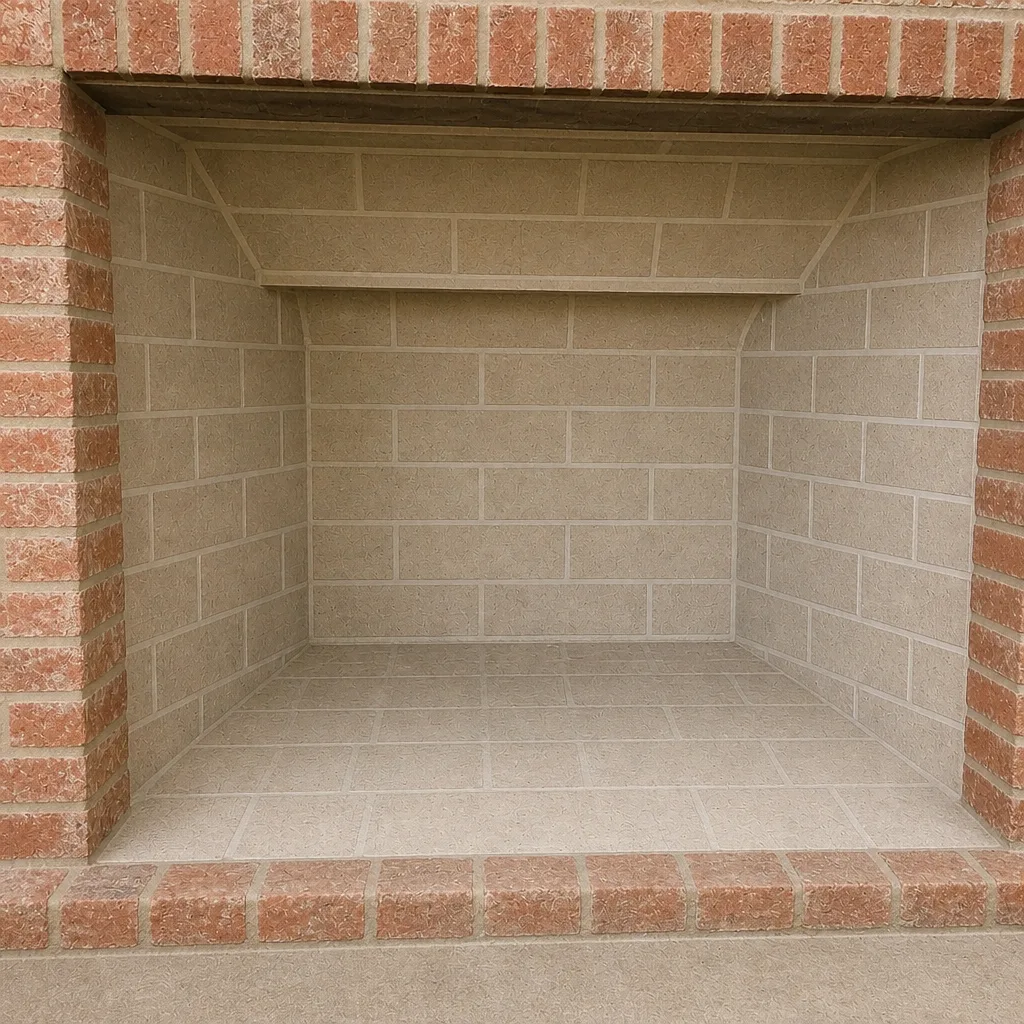
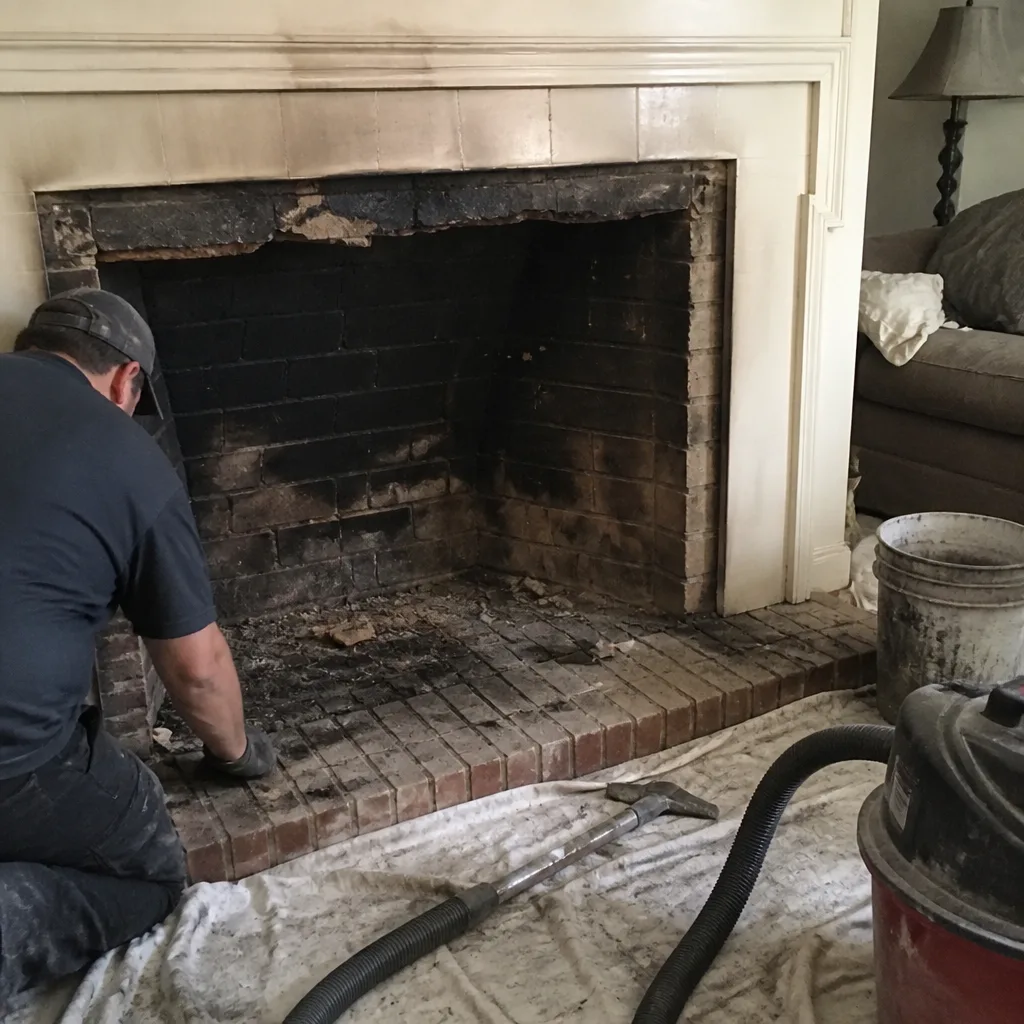
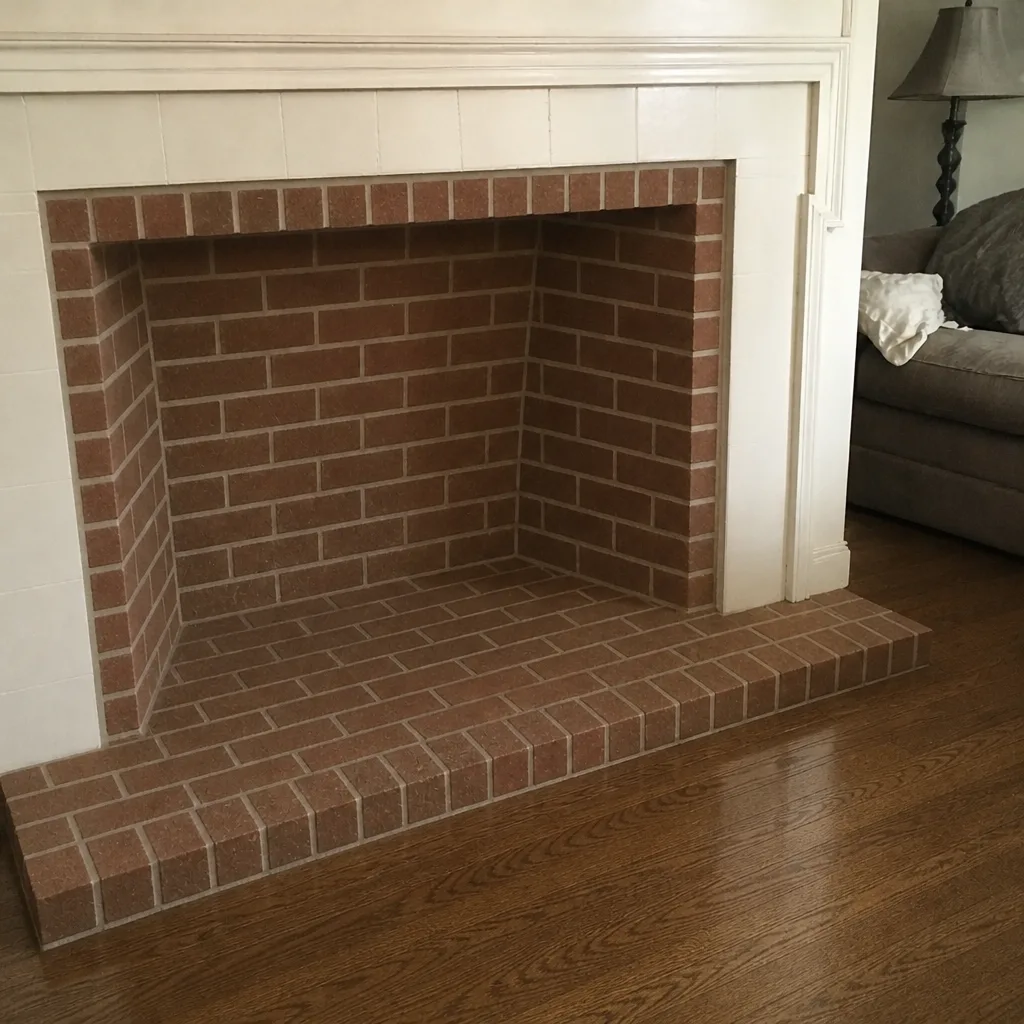
See the difference
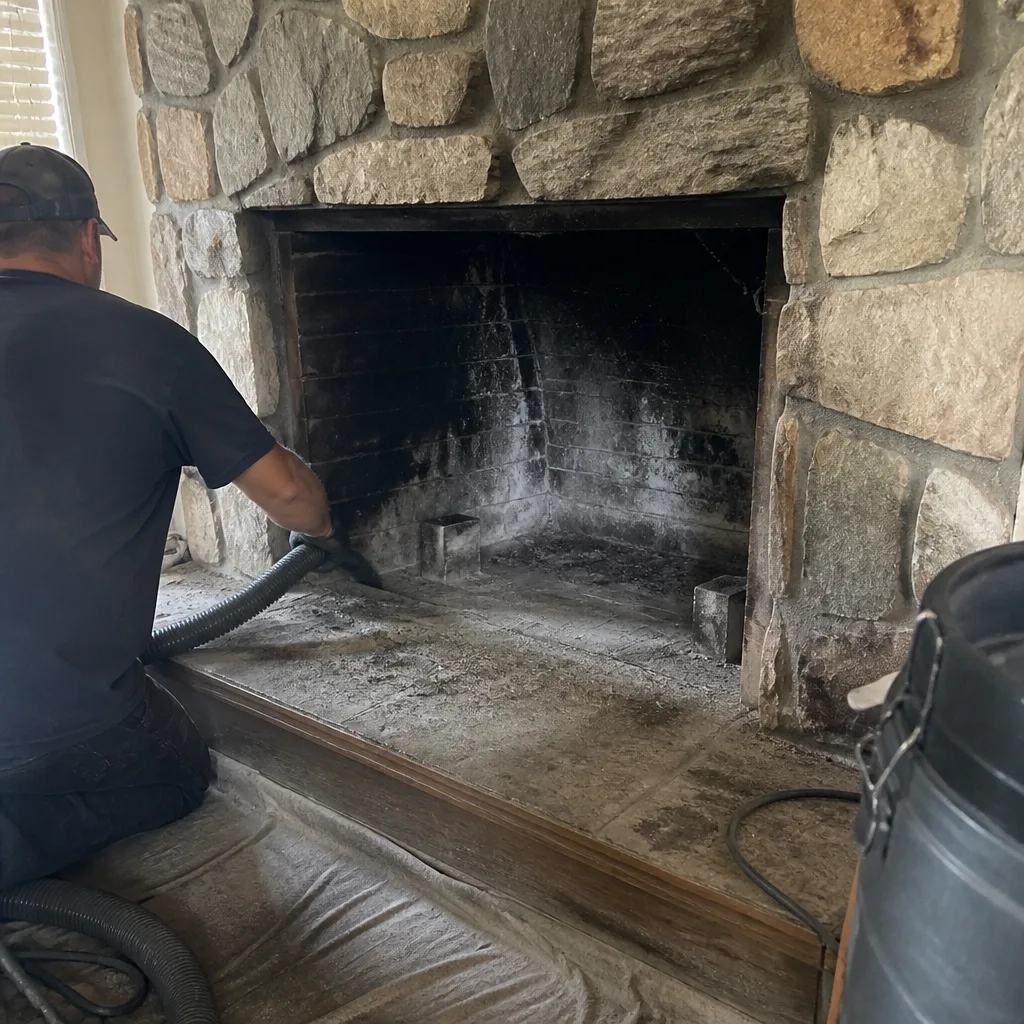 Before
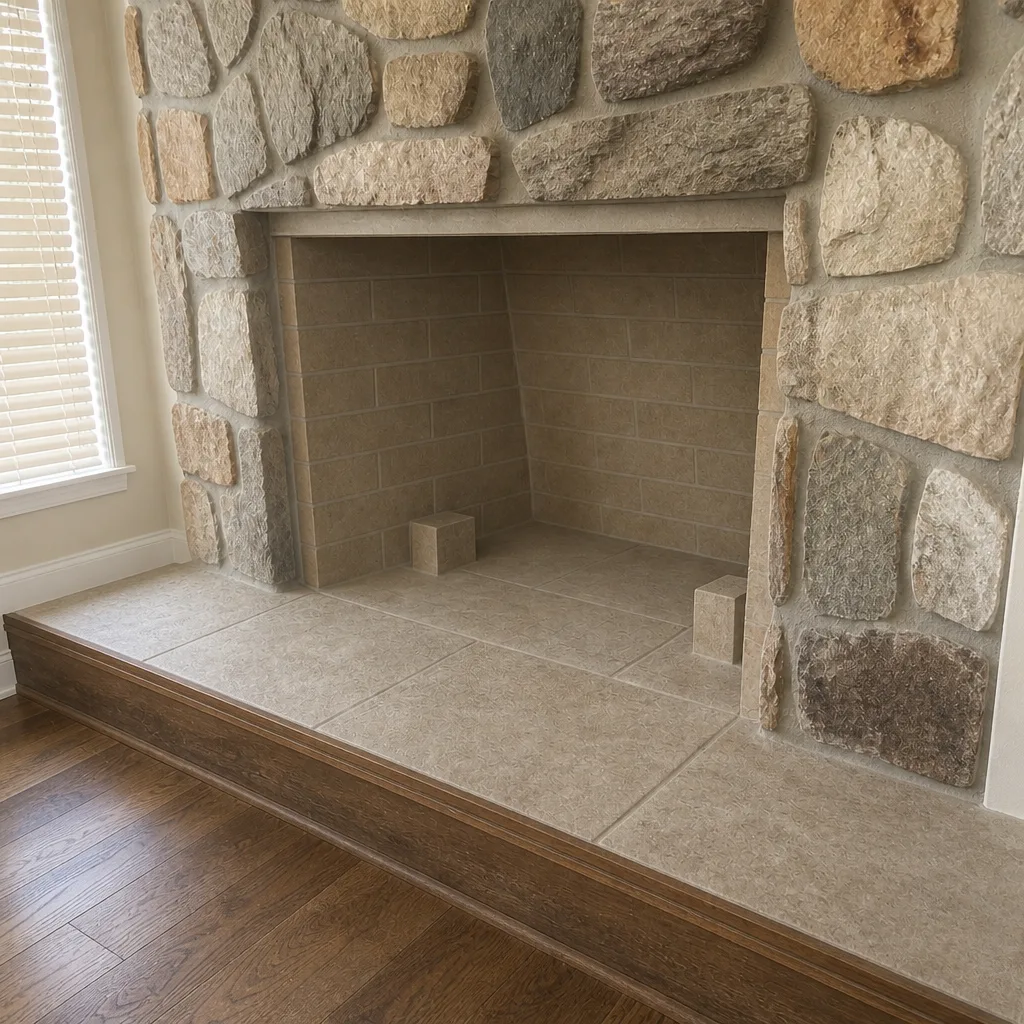 After
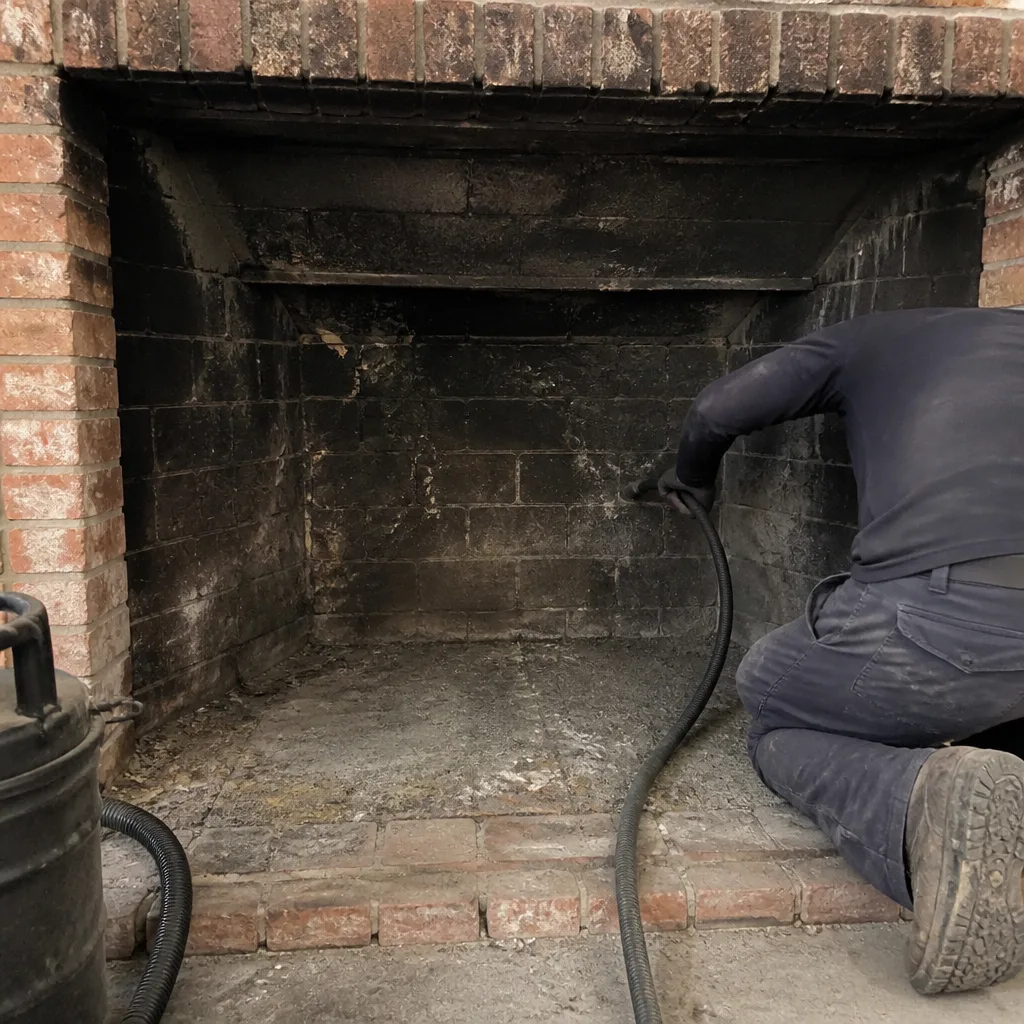 Before
 After
 Before
 After
When to Call a Professional
Call a professional chimney sweep when any of the following is true: you’ve never had a camera inspection; the chimney has an insert or a gas appliance tied into it; you’ve had any chimney fire event, even a small one; there’s staining on the firebox or rust on the damper; the crown or cap has visible damage; the cap is missing or damaged; or you’ve been hand-brushing the flue for multiple years without an inspection. Those are all cases where the cleaning and the diagnosis need to happen together, and only one side of that pair is a DIY task.
For less urgent situations, the same logic applies – an inspection first, a recommendation second, and a clear answer on what can safely wait. Chimney Sweep Palm Coast offers free estimates in Palm Coast. Call (877) 471-4123. We answer 24/7. Fast dispatch from 7am to 7pm, Sunday through Friday. When you call, ask for the camera footage – we’re happy to walk you through it.
Frequently Asked Questions
You can brush a straight single-flue chimney with light soot yourself, and you can handle firebox cleanup, damper checks, and ground-level cap inspection. You can’t do the parts that require camera inspection of the liner, HEPA containment during the brush work, or rotary removal of glazed creosote. The safe split is: do the simple physical tasks, hire out the diagnosis. Call (877) 471-4123 for an exact quote on a professional sweep – estimates are free.
Once a year is the standard baseline, and in Palm Coast’s mild climate a lightly used fireplace can sometimes stretch that interval if the inspection confirms it. The frequency should be set by what the camera sees, not by the calendar. Call (877) 471-4123 to book an inspection and get a straight answer on your specific flue.
Creosote builds up and moves from flaky soot toward glazed, combustible deposit, and a humid-season crown crack keeps letting water into the masonry undetected. The risk most homeowners underrate is the sudden one – a blocked flue sends carbon monoxide back into the house instead of up the chimney. Neither risk announces itself in advance. Call (877) 471-4123 for a sweep and inspection before the next burn season.
Yes, and this is the one case where the answer is unconditional. A homeowner brushing their own flue sees what comes down, not what stays inside. A camera inspection is the only way to see liner condition, joint integrity, and glazing up the flue. Call (877) 471-4123 and ask for the camera footage – you can watch it yourself.
You’ll know because you’ll see the camera footage yourself, and you’ll see the condition of the liner, the joints, and the crown on a screen. A recommendation without video isn’t a diagnosis. If the footage shows sound liner with light deposit, the answer is a sweep – not resurfacing and not replacement. Call (877) 471-4123 and we’ll walk through the footage with you before anything gets booked.
You should have a dated service record, video footage of the flue interior from before and after any sweep, and a written inspection report covering the crown, cap, liner, and damper. Those three items are the documentation that makes an insurance conversation go without friction. A professional sweep produces all three; a DIY brushing produces none. Call (877) 471-4123 to schedule an inspection that gives you the record.
A visible firebox-level blockage is different from a flue-level one, and the flue-level case is where it gets dangerous. A blocked flue driving carbon monoxide back into the house is a safety issue, not a cleaning task. Call (877) 471-4123. We answer 24/7 and dispatch Sunday through Friday, 7am to 7pm.
A routine sweep is a service-call expense. The missed diagnosis is the repair that follows – HeatShield resurfacing, DuraFlex liner replacement, or masonry work, depending on what was missed and for how long. The spread between those two numbers is the entire argument for professional inspection. Call (877) 471-4123 for a free estimate.
The Bottom Line
The DIY chimney debate isn’t about whether you can push a brush up a flue. You can. It’s about whether you can accurately read what you find when the brush comes back down, and in Palm Coast’s humid climate the failure modes that matter most leave no visible trace at the firebox level. Handle the firebox, the damper, the cap walk-around, and a light brush on a straight flue. Hire the camera inspection, the rotary removal of glazed creosote, and the assessment that decides whether HeatShield resurfacing or a DuraFlex liner is the right call. That split keeps the DIY savings where they’re real and closes the gap where DIY gets expensive. Our technicians have up to experience, and the pattern is consistent: the calls that stay cheap are the ones that caught it at the inspection stage.
If you want the full picture for your chimney, start with a chimney sweep and the camera work that goes with it, run by a team that handles the inspection, the cleaning, and the repair from the same company. If you’d rather read up on what a professional sweep involves before you call, the Chimney Sweep Palm Coast page walks through the whole service. And if you’re weighing whether to schedule one last DIY season, this is the guide that should tell you when to stop guessing.
Chimney Sweep Palm Coast offers free estimates in Palm Coast, FL, and we’re happy to walk through the camera footage with you before anything is booked. Call (877) 471-4123. We answer 24/7. Fast dispatch from 7am to 7pm, Sunday through Friday.
Written by the team at Chimney Sweep Palm Coast.