
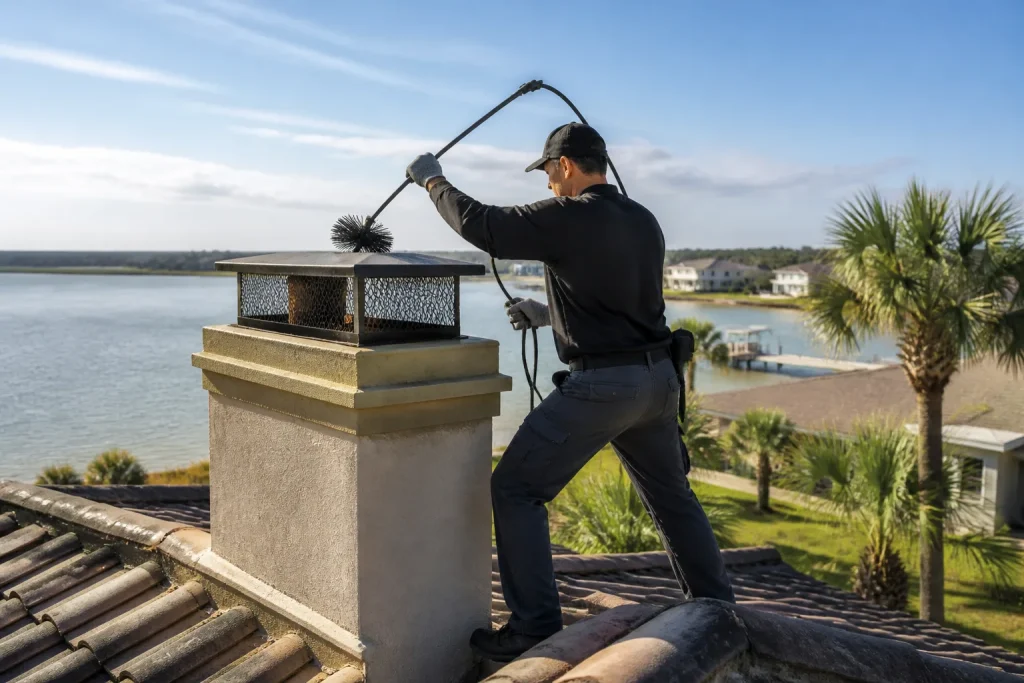
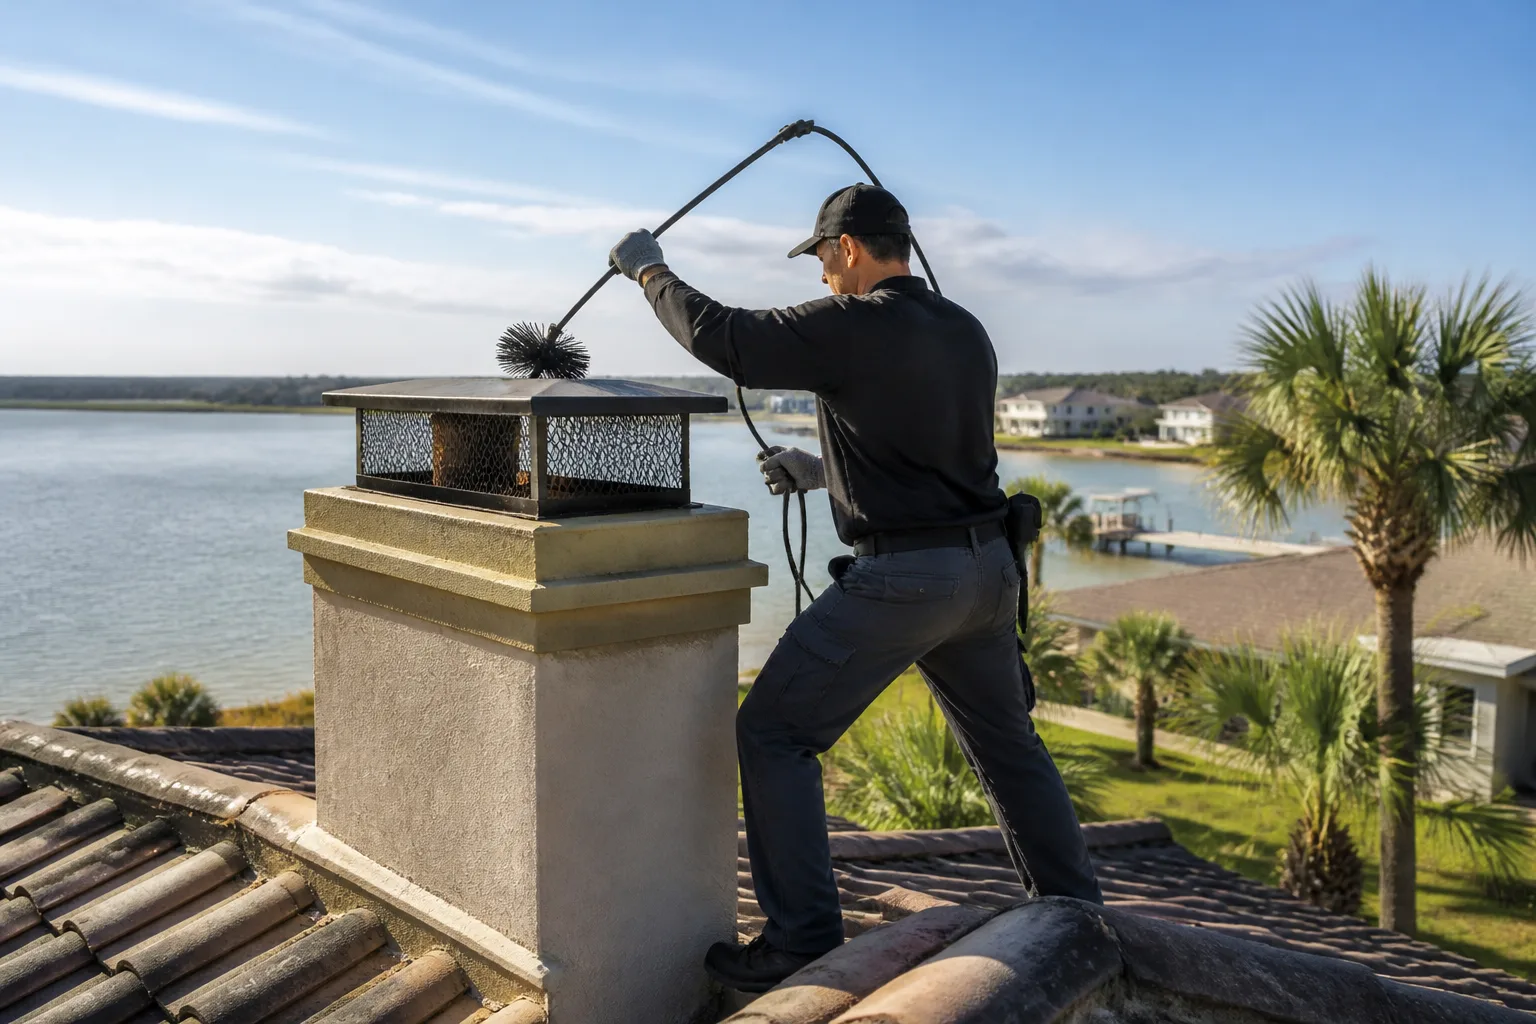
Gelco Chimney Sweep in Palm Coast: A Homeowner’s Guide
A chimney cap costs about $40 at a hardware store and $180 or more from a chimney specialist. The gap isn’t markup. It’s whether the cap on top of your flue survives a Palm Coast summer without warping, rusting, or letting wind-driven rain slip under the flashing and into the smoke chamber. Most homeowners only think about their cap after it has already failed, which is the wrong order. This guide explains what Gelco products actually do, how to tell whether your current cap is doing its job, and what a proper installation looks like.
If you’d rather not climb up there to check, call (877) 471-4123 and we’ll take a look.
What does a Gelco chimney cap actually do?
A Gelco cap does four jobs at once, and a cheap cap usually only does one or two of them. It keeps rain out of the flue, stops birds and squirrels from nesting inside it, contains sparks so they can’t land on the roof, and manages draft by shaping how exhaust leaves the top of the chimney. A cap that fails at any one of those jobs isn’t saving you anything. It’s just postponing a repair.
The reason Gelco shows up in professional chimney work is that their caps are built to hold up under all four loads at once. The gauge of the metal matters. So does the mesh size, the way the top is welded or fastened, and whether the cap is sized to the actual flue tile rather than a nominal “one size fits all” opening. In a humid climate like ours in Palm Coast, thin-gauge steel is the first thing to go. A light-gauge cap will start to show corrosion at the seams and around the mounting points long before a heavier one does, and once corrosion starts, the structural strength of the whole cap is compromised.
Mesh size is the other spec homeowners overlook. A mesh that’s too fine clogs with creosote and debris and chokes your draft. Too coarse and it lets sparks and small animals through. Gelco builds caps across a range of mesh sizes for exactly that reason, and a specialist picks the mesh based on what you’re burning and what’s nesting around your roofline.
Why do big-box caps fail in Palm Coast?
Most generic caps fail in one of three predictable ways, and all three are avoidable if the right cap is chosen in the first place.
- Thin metal corrosion. The metal on a discount cap is often too thin to hold up to years of heat cycling and humidity. The first place you’ll see it is at the weld points and where the cap meets the flue tile. Once the metal thins, the cap starts to sag or rattle in the wind.
- Mesh collapse under debris load. A fine-mesh cap that isn’t structurally supported will bow inward as creosote and leaf debris collect on it. When the mesh sags, it can close off the flue opening and restrict your draft, and that’s when you start noticing smoke rolling back into the room.
- Improper sizing and wind-driven rain bypass. This is the one most people don’t see coming. A cap that’s too small, or that sits flush to the flue tile with no overhang, gives rainwater a path to run down the inside of the flue and into the smoke chamber. You don’t notice it until you get water stains on the ceiling or a musty smell coming from the firebox.
Every one of these failure modes shows up more often in Palm Coast than homeowners expect, because the combination of summer humidity and afternoon storms puts real stress on a cap. A cap that survives a dry climate can still struggle here. If your cap looks fine from the ground but you’ve had water in the firebox, the cap is usually the first thing we check.
What does a correct Gelco cap installation involve?
A proper installation isn’t complicated, but it does require three measurements and two decisions most homeowners never see.
- Measuring the flue tile. We measure the actual outside dimensions of the flue tile, not the inside of the chimney crown. A cap that’s sized to the crown rather than the tile will sit loose and leak. A Gelco cap is fitted to the tile so it sits square and seals.
- Checking overhang clearance. The cap needs enough overhang to shed water past the edge of the flue and crown. Too little overhang and rain runs down the flue. Too much and the cap catches wind and rattles.
- Deciding the fastening method. Some caps bolt to the flue tile, some use a clamp or a top-mount system, and some need a custom-fit multi-flue cover. The right answer depends on what your chimney looks like at the top. A proper Gelco install uses the correct fastener for your setup, not the one that happens to be in the box.
- Checking cap-to-crown contact. This is the step most discount sweeps skip. If the cap sits directly on a cracked crown, water gets trapped between them and the crown gets worse. The two components have to work together, and we check both before we install either.
If you’ve already got a cap and you’re not sure it was installed correctly, we can check the sizing, overhang, and fastening in a few minutes on the roof. That check is part of the standard chimney inspection we do during every chimney sweep in the area.
Which cap works for a screened enclosure?
Palm Coast has a lot of screened lanais, and a lot of chimneys sit close to one. That changes the cap math. A standard cap can create a downdraft problem when the enclosure alters airflow around the chimney, and a downdraft cap can solve it by redirecting exhaust so it doesn’t get pushed back down the flue.
The short version: if you get smoke rolling back into the room on a windy day, or you notice a draft coming down the chimney when nothing is burning, you probably need a downdraft cap rather than a standard one. If you don’t have either problem, a standard Gelco cap sized to your flue is usually the right call. This is the kind of decision that’s easier to make with someone on the roof than from a product listing, since the answer depends on how the enclosure sits relative to the chimney top and which way the prevailing wind comes through.
We install Gelco and Famco caps because both are built for this specific job – weatherproofing the top of a chimney without choking the draft. A cap that solves the water problem and creates a smoke problem is a net loss.
What should a cap inspection cover?
A standalone cap inspection is a short visit. It checks the cap material for corrosion, the mesh for sagging or clogging, the sizing against the flue tile, the overhang, the fastening, and the condition of the crown underneath. If the cap is failing, you get a straight answer on whether it needs replacing or just re-seating.
When the cap inspection is bundled with a sweep, it’s more useful, because we can look down the flue from the top and from the firebox and tell you whether water or debris has already made it inside. That’s the reason we inspect first and recommend second on every job. Nothing gets flagged without evidence you can see for yourself, whether that’s a photo of a corroded seam or a shot of the crown crack the old cap was sitting on.
If the inspection turns up damage beyond the cap, that’s when chimney repair work comes in, and we handle that in the same visit when the scope allows it. HeatShield resurfacing is the method we use most often for liner damage that doesn’t need a full replacement, since it extends the life of the existing flue without pulling the whole system apart. We’re HeatShield-qualified, and we use it because it’s the industry standard for that type of repair, not because it’s the easiest option.
When to call a pro
Getting on a roof to check a cap isn’t worth the risk for most homeowners, and a cap that looks fine from the ground can still be leaking, sagging, or sitting on a cracked crown. If any of these sound familiar, it’s worth having someone look:
- Water stains on the ceiling near the chimney, or a musty smell coming from the firebox
- Smoke rolling back into the room when you light a fire, especially on windy days
- A cap that’s visibly rusted, sagging, or missing mesh
- Birds or squirrels getting into the flue
- It’s been a while since the cap or crown has been looked at at all
A cap is a small component with an outsized job. It’s also the cheapest line item in chimney work to get right the first time. Our technicians have up to 13 years of experience, and the estimate is free, so there’s no reason to guess. Call (877) 471-4123. We answer 24/7. Fast dispatch from 7am to 7pm, Sunday through Friday.
Related services in Palm Coast: chimney repair for crown and liner damage, and Chimney Sweep Palm Coast for the full inspection-and-sweep visit that includes cap and crown checks.
The Bottom Line
Gelco caps earn their place on a chimney because they solve the water problem, the animal problem, and the draft problem at the same time, and they hold up to a Palm Coast summer that thins out cheap metal fast. The difference between a $40 cap and a properly installed one isn’t the label on the box. It’s the sizing, the overhang, the fastening, and the crown condition underneath, and those are exactly the things a discount sweep skips.
If you’re in Palm Coast and want to know whether your cap is actually protecting your chimney or just sitting on top of it, Chimney Sweep Palm Coast offers free estimates. Call (877) 471-4123. We answer 24/7, with fast dispatch from 7am to 7pm, Sunday through Friday. If you’d like to see the rest of our service area first, start with Palm Coast.
Frequently Asked Questions
Professional installation of a Gelco chimney cap typically runs around $180 and up, depending on the flue size, the cap style, and whether any crown repair is needed underneath. The written estimate sets the final price. A hardware store cap might be $40 on the shelf, but it usually lacks the gauge, mesh, and sizing that actually protect the flue. Call (877) 471-4123 for an exact quote – estimates are free.
Watch for rust at the seams, mesh that’s sagging or clogged, a cap that rattles in the wind, water stains near the chimney, or smoke coming back into the room. Any of those usually points to a cap that’s no longer doing its job. A quick inspection confirms it, and it’s cheaper than waiting for water damage. Call (877) 471-4123 for an exact quote – estimates are free.
Standard Gelco caps work fine for most chimneys. Downdraft caps are the right call when smoke rolls back into the room on windy days, or when a screened enclosure alters airflow around the chimney top. Our technicians have up to 13 years of experience reading that difference, and they’ll tell you which one you need rather than which one is easier to sell. Call (877) 471-4123 for an exact quote – estimates are free.
Yes, and that’s the best time to do it. During a chimney sweep, we check the cap, the crown, and the liner from the top and the firebox in a single visit, so you get a full picture of what’s protecting your chimney and what needs work. It’s also why we inspect first and recommend second. Call (877) 471-4123 for an exact quote – estimates are free.
Written by the team at Chimney Sweep Palm Coast.
Need Chimney Cleaning Help?
Call Chimney Sweep Palm Coast - licensed & insured, here with fast help in Palm Coast.
(877) 471-4123